Outboard Won't Start? A Calm Diagnostic Walk-Through (Fuel, Spark, Air, Compression)
- Start with the free checks: kill-switch lanyard fully seated, engine in neutral, no fuel leaks.
- Every no-start is one of four things missing — fuel, spark, air or compression. Work them in that order.
- A primer bulb that won't firm up is the fuel system telling you where to look.
- Check spark safely with a tester and insulated tools, well away from fuel vapour.
- Fuel and spark present but still no start? Stop there — compression and ECU faults are workshop work.
An engine that won't start at the ramp has a special talent for ruining mornings — and for tempting owners into random part-swapping. Resist. A non-starting outboard is almost never mysterious; it is an engine missing one of four things it needs, and a calm walk through them in order will find the gap in most cases within twenty minutes, using nothing more exotic than a clear container and a spark tester. This guide gives you that order, the reasoning behind each check, and — just as important — the clear line where dockside diagnosis ends and a mechanic's bench begins.
Safety first, every time
Before any diagnosis, set the scene. Clip the kill-switch lanyard onto the switch and onto yourself or leave the engine made safe as your setup requires. Put the control firmly in neutral — most outboards will not start in gear, by design. Look and smell for fuel leaks around lines, connections, the primer bulb and the engine itself; raw fuel and diagnostic work involving spark do not mix, and a leak gets fixed or contained before anything else happens. Work in open air, keep the battery connections clean and tight, and never crank for long stretches — ten seconds at a time with rests between attempts protects the starter motor and the battery. If the engine is on a trailer, it needs a water supply on muffs before it runs for more than a few seconds; diagnosis by cranking alone needs no water, but the moment it fires, it does.
The four requirements
Strip an engine to first principles and it needs exactly four things to run: fuel, delivered in the right amount and mixed with air; a spark at the right moment to light that mixture; and compression to squeeze the mixture so combustion makes useful pressure. Every no-start in history is one of those four missing or mistimed. They are also conveniently ordered by how likely and how easy they are to check: fuel faults cause the large majority of no-starts, spark is next, air is rarely the whole story on a modern engine, and compression faults are the least common and the least dockside. Work in that order and you will rarely work long.
Step 1: the two ten-second checks
Reseat the kill-switch lanyard clip. Pull it off and push it fully home. A clip that sits slightly proud — knocked by a jacket, not quite clicked — disables the ignition while everything else behaves normally, and it has embarrassed more experienced boaters than any other single fault. Then confirm neutral with your hand on the lever, not by memory. Only then turn the key or pull the cord with any expectation.
Step 2: walk the fuel path
Fuel problems announce themselves along a path, so walk the path from the tank forward:
- Tank: Is there actually fuel in it — confirmed by eye or gauge you trust, not by assumption? Is the vent open? A closed vent lets an engine drink its first minutes of fuel and then vacuum-locks the tank, a classic runs-then-dies and won't-restart pattern.
- Primer bulb: Squeeze the bulb. It should firm up within several squeezes and stay firm. A bulb that never firms points to an air leak, a split line or bulb, a stuck anti-siphon valve, or no fuel reaching it. A bulb that firms then softens suggests fuel draining back or leaking forward. Either way, the bulb has just told you the fault is in the fuel path, not the engine.
- Connections: Work every connector from tank to engine — quick-connects fully clicked, hose clamps snug, lines not kinked or chafed. Air leaks on the suction side let a pump draw air instead of fuel while never dripping a drop.
- Separator and filters: Drain a sample from the fuel/water separator into a clear container. Water settles out as a visible layer or beads at the bottom; debris speaks for itself. A clogged filter or separator starves an engine exactly like an empty tank. If the sample is cloudy or layered, the tank's fuel itself is suspect — the reasoning in our fuel guide covers phase separation and stale fuel in full.
On a carburetted engine, add one check: after priming, a faint smell of fuel at the intake suggests fuel is at least reaching the carburettor; a bone-dry engine with a firm bulb suggests it is not. On an EFI engine, listen for the fuel pump's brief prime whine when the key turns on — silence there points electrical, toward fuses and connections.
Step 3: a safe spark check
If fuel is demonstrably arriving, test for spark — carefully, because you are now deliberately making sparks on a boat. The safe method uses an inline spark tester between plug lead and plug, or a removed plug held with insulated pliers against a clean metal ground on the engine, in shaded light where a spark is visible. Keep the test point away from the fuel system and any vapour, keep hands on insulation only, and have a helper crank in short bursts. You are looking for a strong, regular, blue spark on each cylinder you test. No spark on any cylinder points back toward the kill circuit, ignition components or the ECU's say-so; spark on some cylinders only narrows the fault helpfully. If the idea of this step makes you uneasy, that is a legitimate stopping point — a tester in experienced hands at a workshop is money well spent.
Step 4: air, and the flooded engine
Air is the quiet requirement. A blocked intake — a nest, a rag left from servicing, a collapsed intake silencer — can strangle an engine, and a glance under the cowling rules it out. The more common air-related no-start is too much fuel rather than too little air: the flooded engine, usually a carburetted motor that has been choked and cranked repeatedly until its plugs are wet with fuel. The recovery is patience and procedure: stop cranking, leave the choke off, wait several minutes for fuel to clear, then crank with the throttle advanced as your manual directs for a flooded start. Repeated blind cranking only deepens the flood and flattens the battery.
Saltwater special cases
Engines that live in salt water add a few signatures of their own. Corrosion on battery terminals and engine grounds creates the crank-that-slows-and-clicks pattern of a healthy battery strangled by resistance — clean terminals to bright metal before condemning any battery. The tell-tale and cooling passages can block with salt after a lay-up, which will not stop an engine starting but will overheat it quickly once running — confirm the stream the moment it fires. And a boat that sat in the water unused may have a vent or fuel system visited by growth or insects; the fuel-path walk above finds those too. Our outboard glossary defines every component named here in plain English if any term is unfamiliar.
When to stop and call a mechanic
Diagnosis has a natural border. Cross into workshop territory when: fuel and spark are both confirmed present and the engine still will not start; a compression test shows a low or uneven cylinder; the engine's warning system reports ECU fault codes or alarms you cannot clear; there is a fuel leak you cannot immediately make safe; or the fault lives inside the fuel system beyond filters and lines. Compression and electronics are measured, not guessed, and the tools pay for themselves the first time they prevent a wrong part being bought. Bring your mechanic the story of your checks — what you confirmed, in what order — and you will save the first hour of the bill. The routine servicing that prevents most no-starts lives in how to maintain an outboard motor.
Shop the motors in this guide
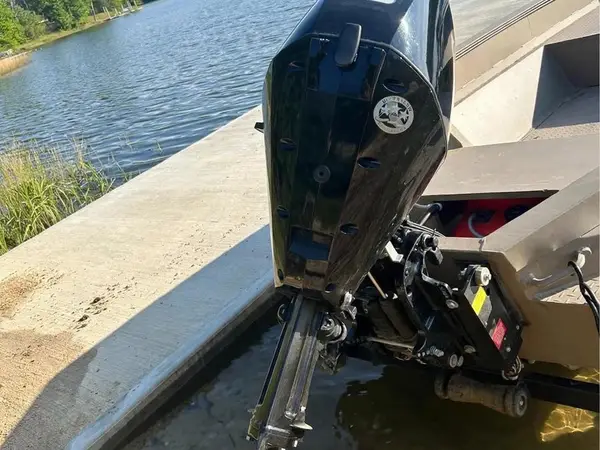 Pre-Owned
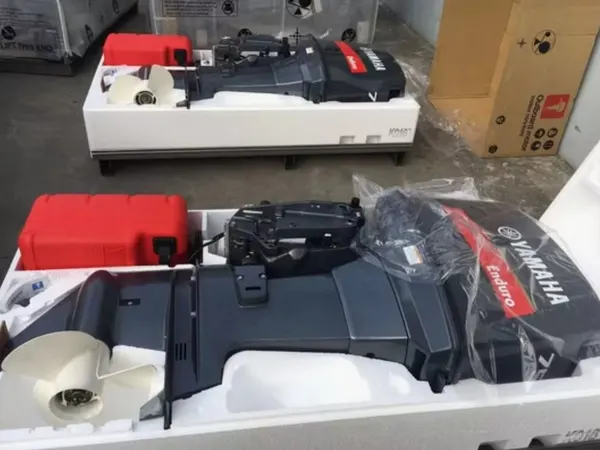 New
New 2023 Yamaha Enduro 60 HP 2-Stroke Tiller Outboard Motor
- 2023
- 60 HP
- Brand new
- Tiller
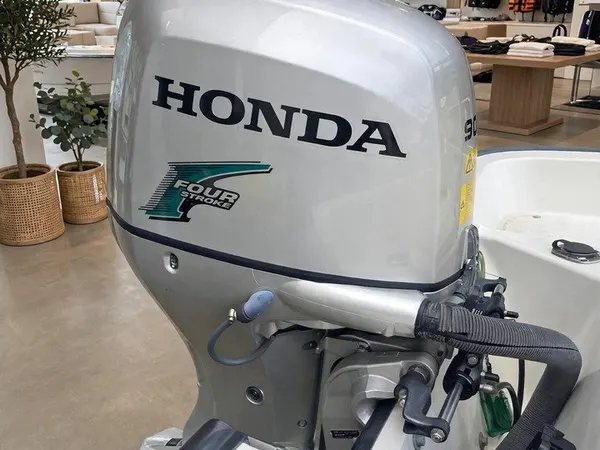 Pre-Owned
Used Honda 90HP VTEC Outboard Motor — 20-Inch Long Shaft, Only 142 Hours
- 90 HP
- 142 hrs
- 20" shaft
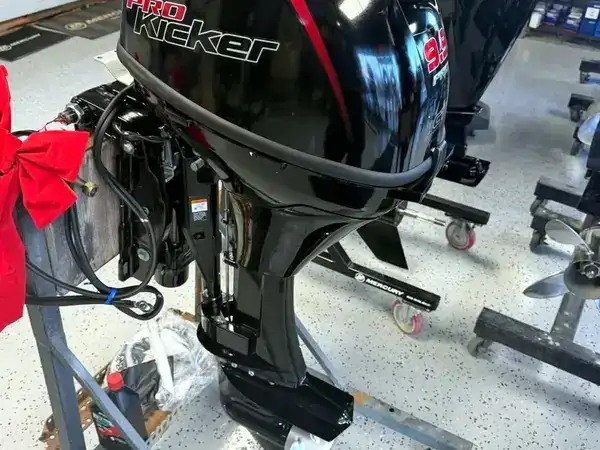 New
Mercury 9.9 ProKicker CT — Brand New Leftover, 3 Available
- 9.9 HP
- Brand new
- 20" shaft
Small and midrange motors like these reward the simple checks first — every motor is photographed as offered and listed with its price, freight and deposit on its page.
Frequently asked questions
What is the very first thing to check when an outboard won't start?
The two free checks that fix a surprising share of no-starts: the kill-switch lanyard and the gear lever. The lanyard clip must be fully seated on the kill switch — a clip that looks attached but is not fully home will disable the ignition completely. And the engine must be in neutral; most engines will not crank, or will not fire, with the control in gear. Both take ten seconds and cost nothing, which is exactly why they come first.
The primer bulb won't stay firm. What does that mean?
A bulb that never firms up, or firms and then softens, points to the fuel path: an air leak at a connection, a split or perished bulb or line, a sticking anti-siphon valve, or an empty or unvented tank letting no fuel flow at all. Squeeze with the bulb's arrow pointing toward the engine and the bulb held so its outlet is up, check each connection from tank to engine, and confirm the tank vent is open. Fuel should arrive; if it does not, the engine downstream is not the problem yet.
How can I tell if water is in the fuel?
Drain a sample from the fuel/water separator's bowl into a clear container and let it settle: water appears as a distinct layer or beads at the bottom, clearly separated from the fuel above it. On engines with a water-in-fuel sensor, you may get a warning light or alarm instead. Water in the separator means water is arriving from the tank — find the source (cap seal, vent, a bad fill of fuel) rather than simply draining the bowl repeatedly.
My engine cranks strongly but will not fire at all. Where do I look?
An engine that cranks well but shows no sign of firing is missing spark or fuel entirely, and the lanyard check comes first — it disables spark while leaving cranking normal on many engines. Next, confirm fuel is actually reaching the engine (firm bulb, fuel in the separator, filters not blocked). A safe spark check with an inline tester or insulated tools, following the precautions in this guide, then separates an ignition problem from a fuel problem. If both spark and fuel are present, stop and get a compression test and a diagnostic scan.
When should I stop diagnosing and call a mechanic?
Stop when the simple, safe checks are done: lanyard and neutral confirmed, fuel demonstrably reaching the engine, battery cranking strongly, and still no start — or at any point you find low or uneven compression, fuel leaks you cannot immediately make safe, warning alarms, or fault codes. Internal faults, ECU problems and fuel-system work beyond filters and lines belong on a bench with the right tools. Good diagnosis includes knowing where the dockside part ends.
Related guides
- Outboard fuel guide: ethanol, stabilizer, filters and octane
- Outboard glossary: terms boaters actually hear
- Outboard motor maintenance checklist
Talk to a specialist
Questions about a motor you are looking at? Call +1 754-251-4847 or request a quote with the stock number from the listing. Browse the full inventory, or start from the Yamaha, Mercury, Suzuki and Honda hubs.